Cool CSS3 & jQuery Image Slider for Blogger
|
11:42 PM |
No Comments |
![]()

Cool CSS3 & jQuery Image Slider for Blogger
.jpg)
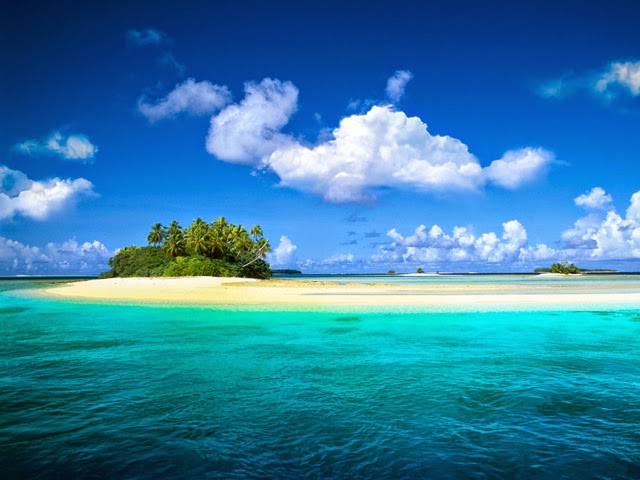
The Island
.jpg)
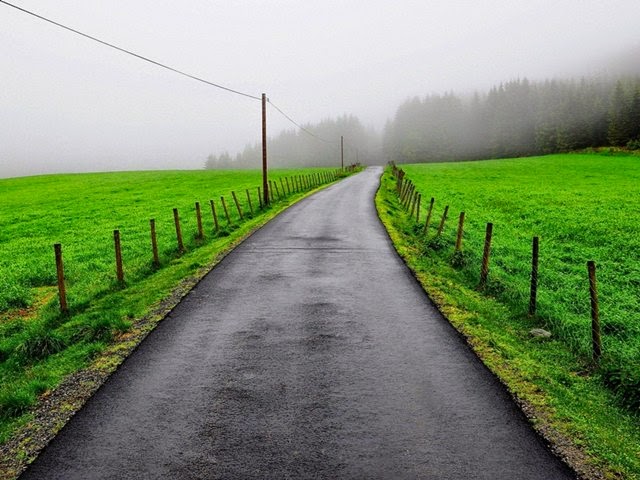
The Green Field
.jpg)
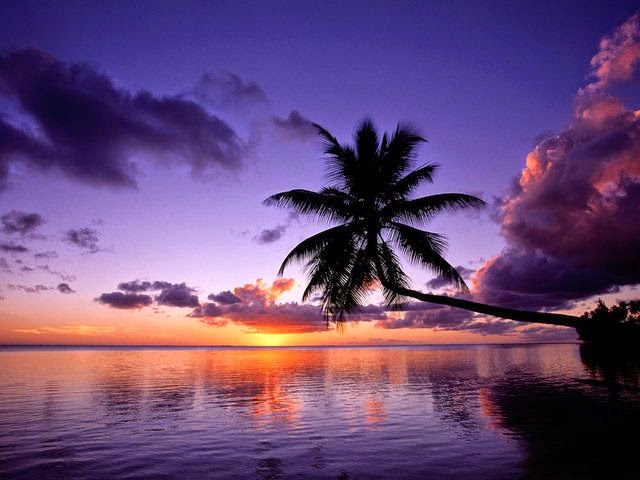
The Paradise
.jpg)
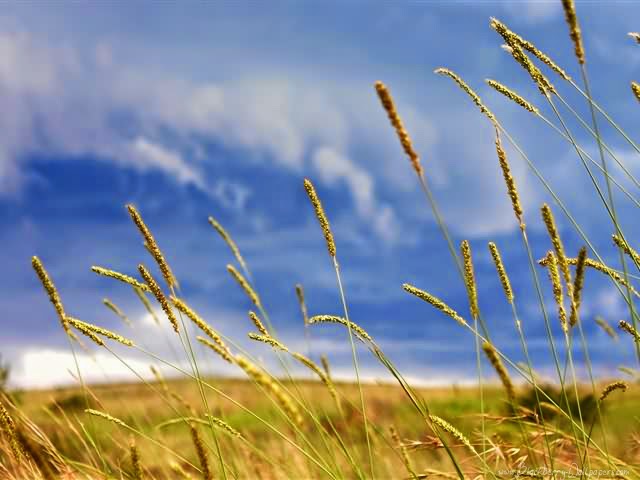
The Rainy weather


How to install:
Optional Step: Back up your template first!
- Log in to your blogger, select your blog
- Select 'Template' tab option, click 'backup/restore' from upper right corner.
- Download full template and save it on your pc
Mandatory Step:
- From 'Template' tab, select 'Edit html'
- And find (using Ctrl+F or Cmd+F) this tag </head>
- Above </head> copy and paste these lines
<link href='http://fonts.googleapis.com/css?family=Droid+Serif' rel='stylesheet' type='text/css'/>
<script src="http://cdnjs.cloudflare.com/ajax/libs/jquery/1.8.0/jquery.min.js"></script>
<script type="text/javascript" src="http://yourjavascript.com/58151114515/ks.js"></script>
- Now again search for ]]><
- Above ]]>< copy and paste these lines
/*www.crawlist.net CSS starts*/
#ks-gallery-wrapper{
width:500px;
height:375px;
margin:20px auto;}
#gallery{
width:500px;
height:375px;
position:relative;}
#gallery img{
width:500px;
height:375px;}
#gallery .image {
width:500px;
height:375px;
position:absolute;
display:none;}
#gallery .image.active{
display:block;}
#gallery .image.inactive{
display:none;}
#ks-nav {width:100%;}
#previous {
float:left;
cursor:pointer;
width:32px;
position:relative;
top:-200px;}
#previous img{width:32px;}
#next {
float:right;
cursor:pointer;
width:32px;
position:relative;
top:-200px;}
#next img{width:32px;}
.ks-under {
border: 2px solid #fff;
cursor: pointer;
height: 375px;
float: left;
margin: 5px;
position: relative;
overflow: hidden;
width: 500px;
-webkit-box-shadow: 1px 1px 1px 1px #ccc;
-moz-box-shadow: 1px 1px 1px 1px #ccc;
box-shadow: 1px 1px 1px 1px #ccc;
}
.ks-under img {
position: absolute;
-webkit-transition: all 300ms ease-out;
-moz-transition: all 300ms ease-out;
-o-transition: all 300ms ease-out;
-ms-transition: all 300ms ease-out;
transition: all 300ms ease-out;
}
.ks-under .captio {
background-color: rgba(0,0,0,0.8);
position: absolute;
color: #fff;
z-index: 100;
-webkit-transition: all 300ms ease-out;
-moz-transition: all 300ms ease-out;
-o-transition: all 300ms ease-out;
-ms-transition: all 300ms ease-out;
transition: all 300ms ease-out;
left: 0;}
.ks-under .kscaption{
height:50px;
width: 500px;
display: block;
bottom: -53px;
text-align: center;
font-family: 'Droid Serif', serif;
font-size:16px;
line-height:50px;}
.ks-under:hover .kscaption{
-moz-transform: translateY(-100%);
-o-transform: translateY(-100%);
-webkit-transform: translateY(-100%);
transform: translateY(-100%);}
/*www.crawlist.net CSS ends*/
- Save Template
- Go to ‘New post’ or select a post to ‘edit’
- Switch ‘HTML’ mode of text editor (upper left corner of text editor this option you can find Compose or HTML)
- Now copy and paste these lines in post;
<div id="ks-gallery-wrapper"><div id="gallery"><div class="ks-under">
<div class="image"><img src="Pic Link"/><span class="captio kscaption"><p>Pic Detail</p></span></div>
<div class="image"><img src="Pic Link"/><span class="captio kscaption"><p>Pic Detail</p></span></div>
<div class="image"><img src="Pic Link"/><span class="captio kscaption"><p>Pic Detail</p></span></div>
<div class="image"><img src="Pic Link"/><span class="captio kscaption"><p>Pic Detail</p></span></div>
</div></div>
<!--www.crawlist.net slideshow starts--><div id="ks-nav">
<div id="previous"><img src="https://blogger.googleusercontent.com/img/b/R29vZ2xl/AVvXsEgmB74aMkABmuVO1rMZv5BsmhxZJZovghQx4hjJ-Dl4Jk7BF2_FR26zdHCC5Y9qoBxZ0K7WaEqr8euu900OKfZojCj9hrKaDHMNVZbze5GuoShp61iaAGzEb-HToSw1HY7QoCHd3bnxVQT6/s1600/il.png"></div>
<div id="next"><img src="https://blogger.googleusercontent.com/img/b/R29vZ2xl/AVvXsEg1CYFcWDHaYlbjJMV5fxRD4q0jj33ylYqPZath_CRe-0HPhDh0sqPJYfmlRqXIKP6AWtV5bJPXoHQjKnKxLZCwaOlW16nzUlxkvbUpr_HLFyJ51kQzrdsdrLRPiKNtqlJl93zqY_576ISV/s1600/ir.png"></div>
</div></div><!--www.crawlist.net slideshow ends-->
- and configure:
- The pictures you want to display first upload them on Tinypic, and collect the raw image links, paste the links on ‘Pic Link’;
- And in ‘Pic Detail’ type your one line of details;
- If you don’t want all of image slot just delete full line
<div class="image"><img src="Pic Link"/><span class="captio kscaption"><p>Pic Detail</p></span></div>
- And if you want to put more image on slideshow just copy this line, that much time you want
<div class="image"><img src="Pic Link"/><span class="captio kscaption"><p>Pic Detail</p></span></div>
- After configuration, Switch back to ‘Compose’ part, Publish post, and see your slideshow in live action.
The default image size allows Height of 135px and Width of 500px, Any resolution picture will be scaled into these default value, if you having problem with this default resolution, just change the value as your requirement, the sizes can be found in CSS part, red colored.
Compatibility:
- This image slider tested on several templates, worked fine on every template, if some template doesn’t shows it right try to fix the px values.
- Supported on all major web browsers


0 comments:
Post a Comment